Bat Drawing - Simple Steps For Anyone
Learning to create a bat drawing can be a truly enjoyable way to spend some time, especially if you like putting ideas onto paper. This guide is here to walk you through the process, making it very simple for anyone who wants to give it a try. We are going to look at how you can make your own picture of a bat, going through each stage one by one, so you can see it come together right before your eyes. It is, you know, a way to make something cool without feeling overwhelmed by the process.
You will find that this way of doing things is set up to be very easy to keep up with, almost like a friendly chat about art. We will show you how to get started with just a few basic shapes and lines, building them up until you have a complete bat drawing. The idea is to make the whole experience feel like a fun activity, not a difficult task, so you can just relax and let your hand move across the paper. It is really about discovering how simple it can be to bring a little creature to life with your own artistic touch.
So, whether you are just starting out with drawing or you are looking for a straightforward project, this approach to making a bat drawing is designed to be accessible. We will cover the main bits you need to know, from the very first lines you put down to the final touches that give your bat its own special look. You will see how each part fits with the others, making the whole thing feel natural and quite satisfying as you go along. It is, sort of, a gentle invitation to explore your creative side, one step at a time.
Table of Contents
- What Makes a Bat Drawing So Appealing?
- Getting Started with Your Bat Drawing Adventure
- How Can You Make Your Bat Drawing Easy?
- The First Shapes for Your Bat Drawing
- What Tools Do You Need for Bat Drawing?
- Building Up Your Bat Drawing Step by Step
- Is Bat Drawing Just for Kids?
- Seeing Your Bat Drawing Come to Life
What Makes a Bat Drawing So Appealing?
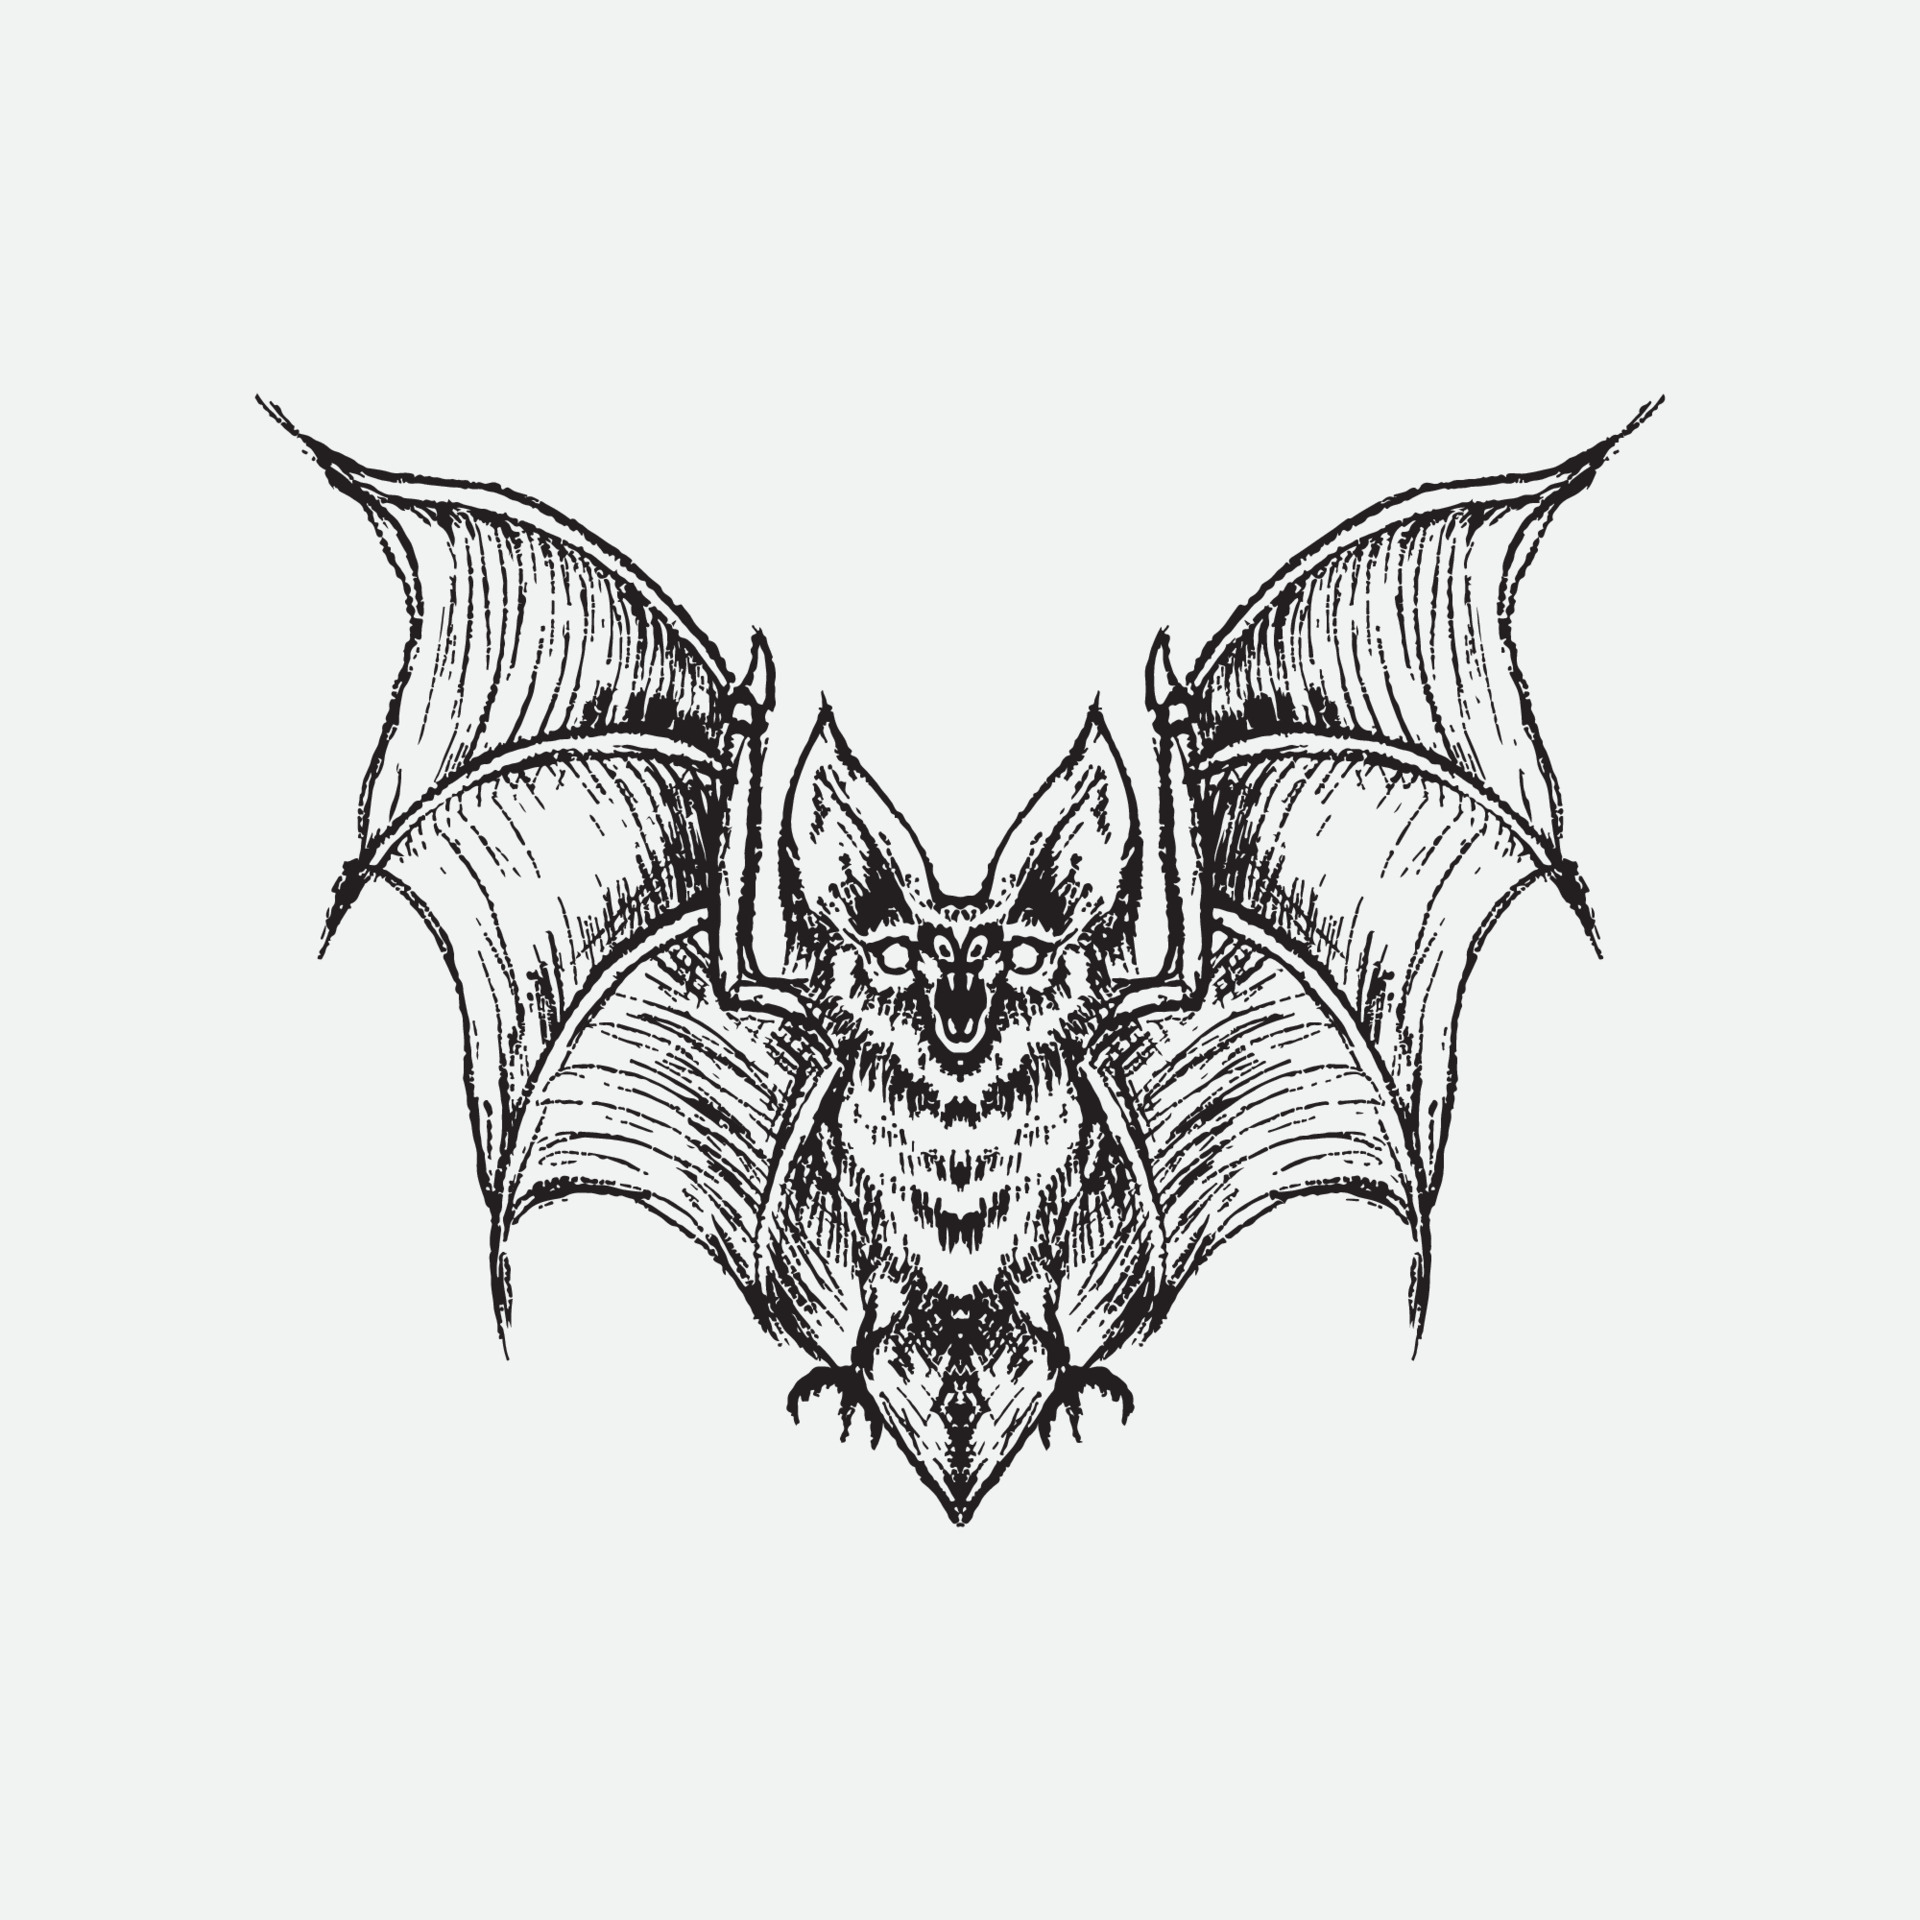
There is something quite special about creating a bat drawing, you know, that makes it a favorite for many people. These flying creatures, which are the only mammals that truly take to the sky, have a very distinct look that is a lot of fun to put down on paper. They have those big, wide wings and often a cute little face, which gives you plenty to work with when you are trying to capture their form. It is a chance to play with shapes that are a bit different from your usual everyday animals, and that can be really refreshing for anyone who likes to draw.
A bat drawing, you see, often comes to mind especially when the autumn season rolls around, or when people are getting ready for certain holidays. They have a connection to things that are a little mysterious and, in a way, playful, which makes them a popular subject for all sorts of creative projects. The way their wings stretch out, almost like a cloak, gives them a silhouette that is instantly recognizable, and that is a great starting point for anyone picking up a pencil. You can really get a sense of their movement and character, even with just a few simple lines.
So, when you are thinking about what to draw next, considering a bat drawing is a pretty good idea. They offer a chance to explore a creature that is both familiar and, you know, a bit out of the ordinary. The distinct features, like their ears that stand up and the way their wings are shaped, give you clear points to focus on. It is a way to practice putting different forms together, and you will find that the outcome can be quite satisfying, showing off a creature that many find interesting to look at. It is, perhaps, their unique nature that makes them so appealing to artists of all kinds.
Getting Started with Your Bat Drawing Adventure
Starting a new bat drawing project can feel like opening a book to a fresh page, full of possibility. The good news is that getting going with this particular type of art is set up to be very gentle and welcoming. You do not need to have a lot of previous experience, or even a deep knowledge of art techniques, to begin. The whole point is to simply pick up your drawing tool and let yourself be guided through the initial steps. It is, really, about taking that first small step into the creative process, and seeing where it takes you.
The beauty of this kind of bat drawing approach is its straightforward nature. There are no complicated tricks or hidden secrets to figure out right at the start. Instead, you are given clear, easy-to-follow directions that make the beginning of your drawing journey feel quite natural. You will find that the first lines you put down are just simple shapes, almost like building blocks, that help you lay the groundwork for your bat. It is, you know, a very calm way to approach something new, allowing you to get comfortable before moving on to more details.
So, if you are feeling a little unsure about where to begin with your bat drawing, just remember that the most important part is simply to start. Think of it as a friendly invitation to put your ideas onto paper, without any pressure to make it perfect right away. The initial stages are designed to be very forgiving, giving you space to get a feel for the shapes and proportions. It is, in a way, like learning to walk before you run, making sure you are steady on your feet before you pick up speed. This gentle start sets you up for a pleasant and rewarding experience.
How Can You Make Your Bat Drawing Easy?
Making your bat drawing simple to do is really about breaking the whole thing down into small, manageable bits. Instead of looking at the entire creature and feeling a bit overwhelmed, you just focus on one small piece at a time. This method, you know, takes away any feeling of pressure and lets you enjoy the process of putting lines onto paper. It is like putting together a puzzle, where each piece fits neatly with the next, and before you know it, the whole picture is there.
This particular way of creating a bat drawing is designed to be very straightforward, often involving just a few key stages. You might find that it only takes six or seven distinct steps to get from a blank sheet to a finished bat. Each step is very clear, giving you a specific shape or line to add, and it builds directly on what you have already done. There is no guesswork involved, which means you can just follow along and watch your drawing come to life without any trouble. It is, basically, a guided path to a nice outcome.
So, if you are wondering how to keep your bat drawing experience light and enjoyable, the answer lies in this step-by-step approach. You do not have to figure out everything at once; you just take it one instruction at a time. This helps you to stay focused and makes sure that you are always moving forward in a clear direction. It is, sort of, like having a helpful guide right there with you, showing you exactly what to do next. This simplicity is what makes the whole activity a pleasant one for anyone who wants to try their hand at drawing.
The First Shapes for Your Bat Drawing
When you are just beginning your bat drawing, the very first marks you make are going to be for the head and ears. You will want to start by sketching out a shape that will be the bat's head, perhaps a gentle curve that gives it a rounded look. Then, right at the top of this head shape, you can add two bits that come up to a point, which will serve as the bat's ears. These do not have to be perfect right away; they are just initial outlines to get things going, you know, to set the basic structure.
After you have put down the initial shape for the head and those pointed bits for the ears in your bat drawing, your attention can then move downward. The next part to consider is the main body of the bat. You can make this part look like a teardrop, or perhaps a shape that is wider at the top where it joins the head and then gently narrows as it extends down. This creates the central mass of the bat's form, giving it a sense of weight and presence. It is, sort of, like building the main frame of a little house before you add all the details.
So, when you are working on your bat drawing, remember that these first shapes are your foundation. They are there to give you a starting point, a basic outline to build upon. Do not worry too much about getting every line just right at this stage; the idea is to simply get the general form down. You are essentially laying out the main parts of your bat, making sure they are in the right place before you add any more lines or features. It is, you know, a very simple way to begin, making the whole process feel much less daunting.
What Tools Do You Need for Bat Drawing?
For your bat drawing, you will find that you do not need a lot of fancy equipment. The beauty of this kind of art is that it works really well with just some very basic items that you probably already have lying around. A simple pencil, a piece of paper, and maybe an eraser are truly all you need to get started. You do not have to go out and buy a whole art supply store; the focus is on the act of drawing itself, not on having a wide array of specialized tools. It is, basically, a very accessible way to express yourself.
As you work on your bat drawing, it is a good idea to pay close attention to the different sizes and shapes of each part of the bat. For instance, the head will have a certain size, and the ears will have their own particular shape and dimension. The body, too, will have its own unique form. By noticing these differences as you go, you can make your drawing more accurate and more interesting. Each new line you add in a step is there for a reason, helping to define a specific part of the bat and bringing it closer to its final look. It is, sort of, like carefully placing each piece of a model together.
So, when you are setting up for your bat drawing session, just gather those few simple tools. Then, as you follow the instructions, take a moment to look at how each section of the bat is shaped and how big it is in relation to the other parts. The new lines that appear in each step are not just random marks; they are there to help you build up the bat's form little by little. This careful observation, combined with the basic tools, will allow you to create a really nice bat drawing without any unnecessary fuss. It is, you know, a very straightforward path to a pleasing outcome.
Building Up Your Bat Drawing Step by Step
The way this bat drawing process works is by gradually adding to what you have already put down on paper. It is not about drawing the whole bat at once, but rather about taking one small action after another, with each new line or shape building upon the previous one. This means that you are always progressing, seeing your bat take more and more form with every mark you make. You never have to guess what comes next, because the instructions are clear, showing you how each stage connects to the last. It is, you know, a very logical and comforting way to create something.
Think of your bat drawing as a construction project, where you are laying down one brick at a time. You start with the very basic foundation, and then you add the walls, then the roof, and so on. In the same way, with your bat, you will begin with those initial head and body shapes, and then you will add the wings, the legs, and any other details. Each new part you introduce makes the bat look more complete and more like the creature you are trying to represent. This progressive building means that you are always moving forward, seeing visible results with each little effort. It is, basically, a very rewarding way to learn.
This step-by-step method for your bat drawing means that you are always supported throughout the creation process. You do not have to worry about skipping ahead or missing a crucial part, because each instruction is designed to follow directly from the one before it. This continuous build-up ensures that your drawing develops naturally, from a few simple lines to a recognizable bat. It is, sort of, like following a recipe where each ingredient is added in the right order, making sure the final dish turns out just as it should. This steady progression makes drawing accessible and fun for anyone who wants to try it.
Is Bat Drawing Just for Kids?
While many of these guides on bat drawing are often presented as being for younger artists, the truth is that learning to draw a bat can be a fun activity for people of all ages. The simple, step-by-step approach that makes it easy for children also makes it a very pleasant and low-pressure experience for adults. There is no age limit on enjoying the act of putting a pencil to paper and seeing a creature come to life. It is, you know, a universal kind of joy that does not pick favorites based on how old you are.
A bat drawing, in its most basic form, provides a chance for anyone to practice their hand-eye coordination and to get comfortable with sketching simple shapes. For grown-ups, it can be a relaxing way to unwind and engage in a creative pursuit without needing to be an expert. It is a way to step away from daily routines and just focus on the lines and forms, which can be quite calming. The satisfaction of creating something, even something straightforward, is pretty much the same whether you are six or sixty. It is, basically, a chance to tap into your inner artist, no matter your age.
So, if you are an adult wondering if a bat drawing guide is suitable for you, the answer is a definite yes. The focus on easy-to-follow steps and clear instructions means that anyone can pick it up and enjoy the process. It is a wonderful way to spend some quiet time, to explore a bit of creativity, and to end up with a neat picture. You will find that the simple satisfaction of completing a drawing is just as rewarding for a seasoned individual as it is for a young person. It is, sort of, a gentle reminder that art is for everyone, always.
Seeing Your Bat Drawing Come to Life
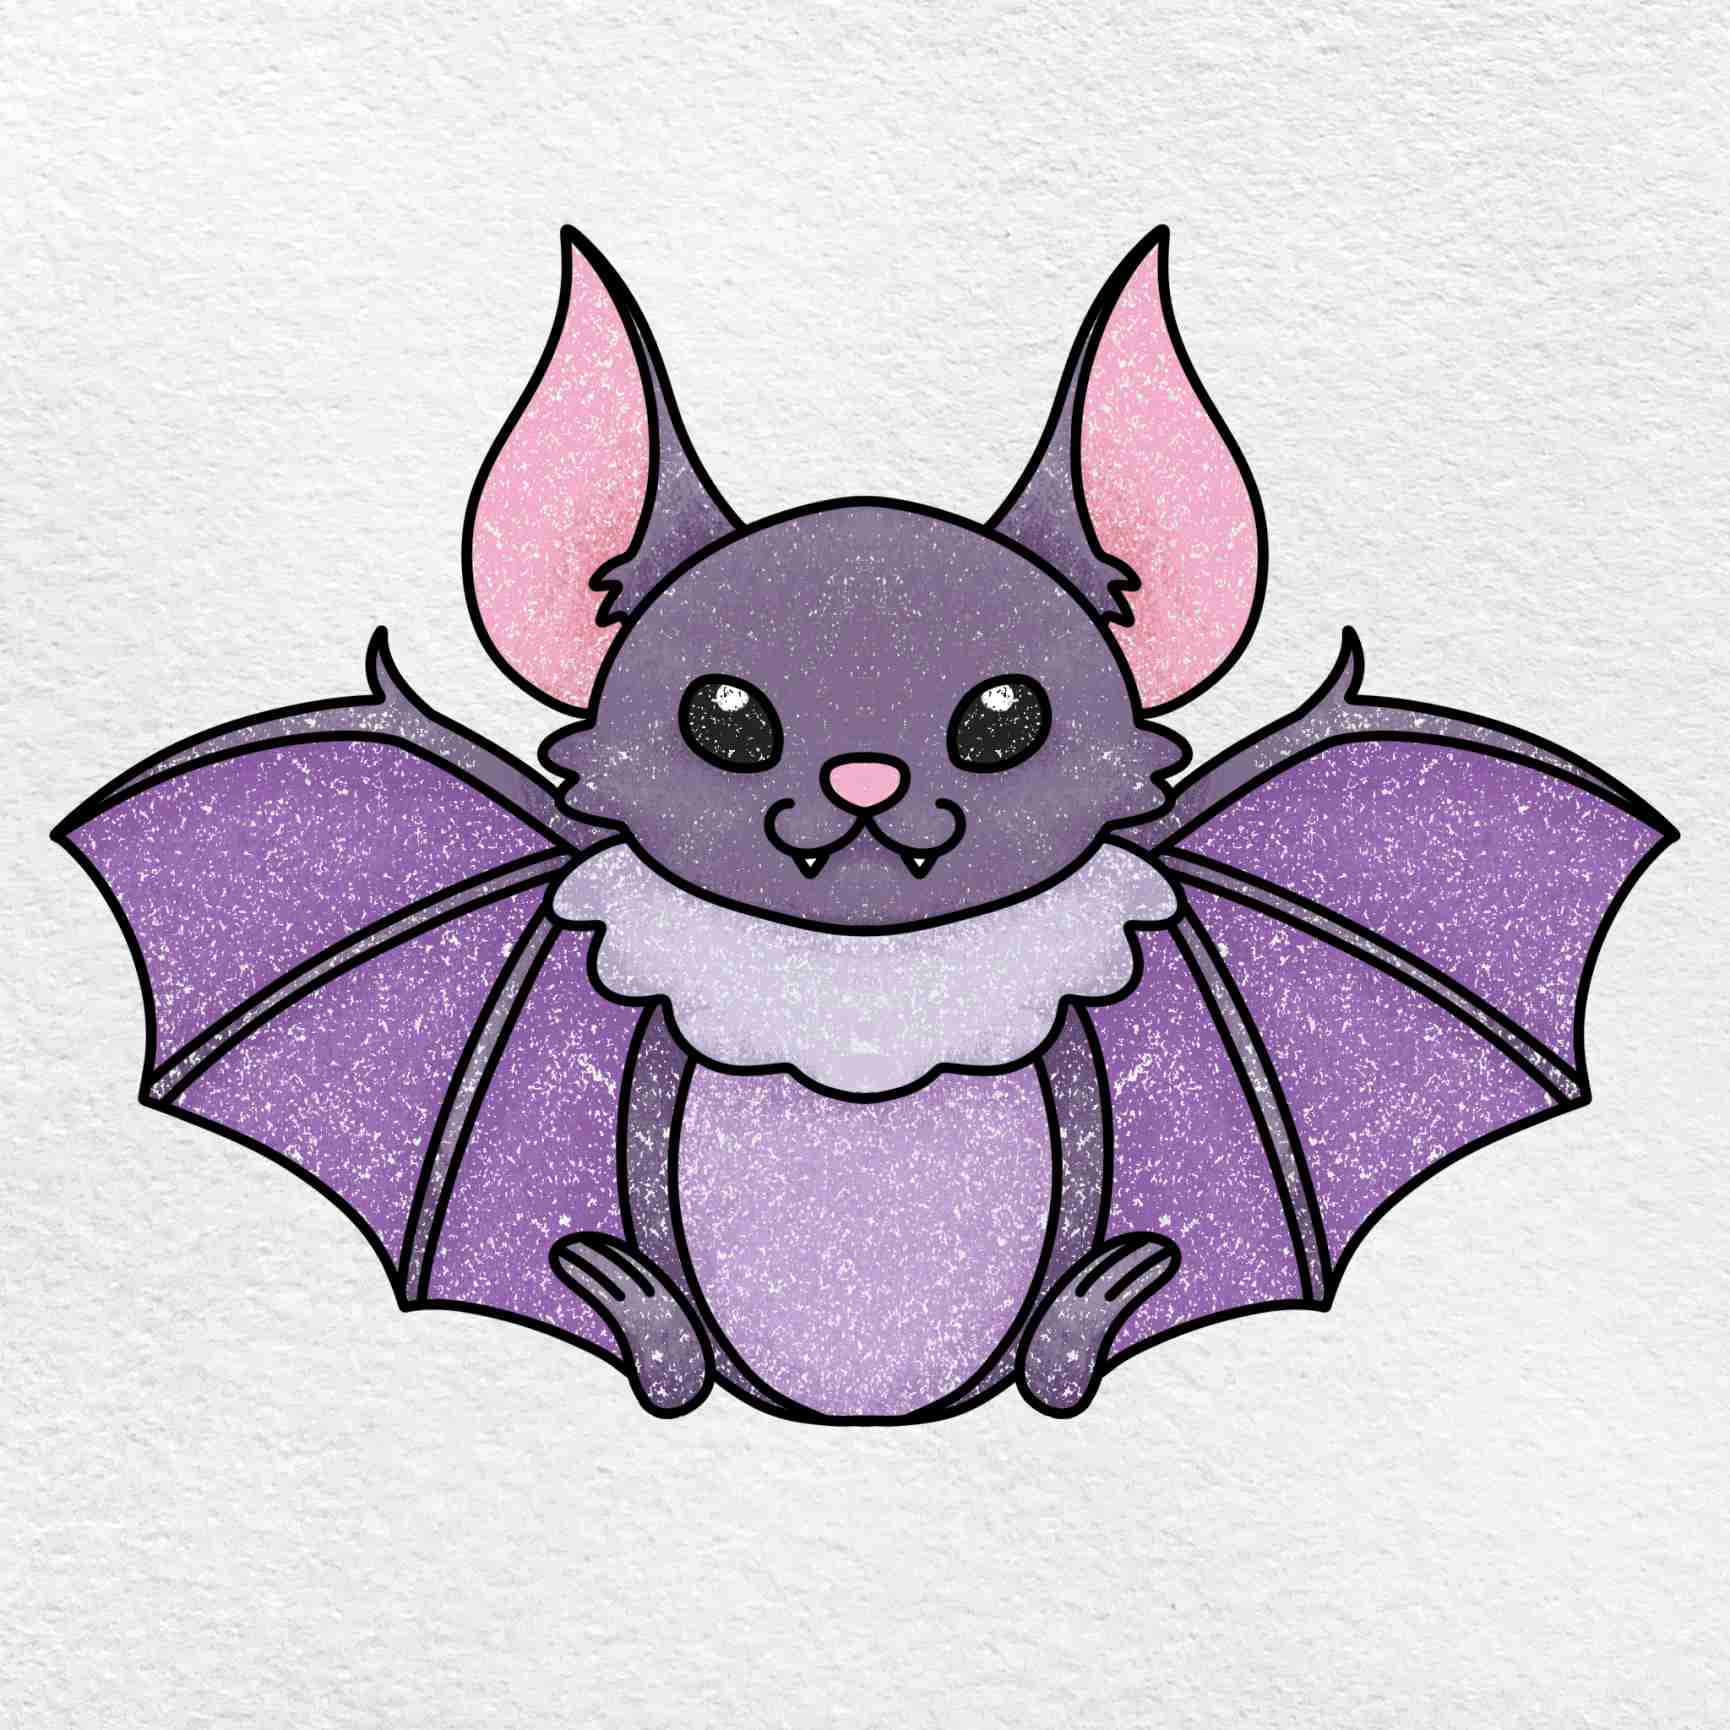
There is something truly satisfying about watching your bat drawing take shape right before your eyes, especially when you have visual aids to help you along. If you are someone who learns best by seeing things rather than just reading about them, then these guides are perfect for you. They usually come with pictures for every single step, showing you exactly what your drawing should look like at each stage. This means you can compare your work with the example and make sure you are on the right track, which is very helpful, you know, for staying confident.
These illustrations for your bat drawing are like having a personal instructor guiding your hand. They show you where to put the next line, how a certain shape should curve, or where a new detail needs to be added. This visual support takes away any guesswork and makes the entire process feel very clear and straightforward. You can literally see the drawing building up, from a few initial marks to a complete creature, which makes the whole experience much more enjoyable and less prone to frustration. It is, basically, a very reassuring way to learn something new.
So, if you prefer to have a clear visual reference as you create your bat drawing, rest assured that these guides have you covered. The images for every step mean you are never left wondering what to do next or how a certain part should look. You can simply look at the picture, then make your own lines, and then move on to the next image. This visual progression is a powerful tool for learning and helps you to feel a sense of accomplishment with each small addition. It is, sort of, like having a map that clearly shows you the way, ensuring you reach your destination with ease.

How to Draw a Bat - HelloArtsy
Bat drawing vector illustration, 5893867 Vector Art at Vecteezy
Download Cute Bat Drawing Pictures | Wallpapers.com
