Crown Drawing - A Simple Guide To Regal Art
Do you ever feel a pull to create something special, perhaps something that shimmers with a touch of royalty? Many people, it seems, find themselves drawn to the idea of sketching a crown, a symbol of majesty and power. It's a rather popular thing to try putting on paper, whether you are just starting out with art or have been at it for a while.
There is, you know, a simple joy that comes from making an image of something grand. Thinking about a gleaming king’s crown, for example, can inspire a person to pick up a pencil and just begin. It really is a fun project for anyone who wants to try their hand at making a picture of something regal and impressive.
This little guide, as a matter of fact, is here to show you the way. We will walk you through the steps involved in putting together a true-to-life crown drawing, from forming the base to adding hues. You will see how easy it is to bring one of these stately headpieces to life on your page, making it look quite authentic.
Table of Contents
Getting Started with Your Crown Drawing Adventure
What Tools Do You Need for a Crown Drawing?
Breaking Down the Crown Drawing Process
How Do You Begin Your Crown Drawing Construction?
Making Your Crown Drawing Stand Out with Outlines
Can You Add Sparkle to Your Crown Drawing?
Bringing Life to Your Crown Drawing with Color
Is Crown Drawing Fun for Everyone?
Getting Started with Your Crown Drawing Adventure
Beginning any creative activity can feel like stepping onto a new path, and making a crown drawing is, actually, no different. It is about taking that first step, picking up a drawing tool, and letting your thoughts about a royal headpiece guide your hand. This initial feeling of readiness, of wanting to create something, is a really important part of the whole experience.
The core message here is that creating an image of a crown, or any object for that matter, does not have to be a big deal. It is, you know, about the simple act of trying. We are here to show you a straightforward path to making a picture that looks like a real crown, a process that is designed to be as enjoyable as it is rewarding for anyone who wants to give it a go.
So, why a crown, you might ask? Well, a monarch's circlet carries a special kind of charm, a hint of old stories and grand moments. Putting this kind of object on paper allows you to capture some of that special feeling, and it is, frankly, a very satisfying thing to achieve. Getting ready to make your own regal adornment is a pretty exciting prospect.
The goal is to help you feel confident as you work on your picture. We want you to feel good about the progress you make, no matter how small. It is, in a way, about enjoying the journey of bringing that shining king’s crown to life on your paper, piece by piece, until it is just right.
What Tools Do You Need for a Crown Drawing?
Before you begin to make your own picture of a royal headpiece, it is helpful to think about the simple items you might use. You do not need a lot of fancy gear, just some basic things that are, in fact, quite common. The right tools can make the process of creating your crown drawing feel much smoother and more pleasant.
At its most basic, you will want some paper and a pencil. Any kind of paper will do to start, whether it is a plain sheet from a notepad or something a little thicker. A pencil, perhaps one that is not too dark to begin with, is your main instrument for sketching out the initial shapes of your crown drawing. It is, you know, the very first thing you will pick up.
You might also find a good eraser to be very useful, as well as a straight edge, like a ruler. These things help you to correct little slips and to make sure your lines are nice and even, especially when you are trying to construct the balanced forms of a king's crown. They are, in some respects, your helpers in getting the shapes just so.
When it comes to adding hues, the source text mentions coloring pens, or markers. These are a pretty straightforward way to bring your crown drawing to life with bright, clear shades. Using these coloring instruments allows you to fill in your picture with boldness and a good deal of liveliness, making that monarch's adornment truly stand out on the page.
Of course, there are other ways to add tint if you prefer, like colored pencils or crayons, but markers offer a particular kind of vibrant finish. The main thing is to pick something you feel comfortable with, something that will help you give your crown drawing the appearance you are aiming for, making it, in a way, truly yours.
Breaking Down the Crown Drawing Process
The idea of making a true-to-life crown drawing might seem like a big task at first glance. However, when you break it down into smaller, more manageable parts, it becomes, actually, much less intimidating. This way of approaching things is often the best path to take when you are trying to create something that looks detailed and well-made.
We are talking about a method that uses a series of steps, a kind of simple map to guide your hand. The source text mentions a process of 19 easy steps, which, in a way, shows that even complex-looking objects can be built up piece by piece. Each step is just a little part of the whole, helping you to form the complete image of your desired royal headpiece.
This approach is particularly helpful for those who are just beginning their artistic pursuits, or for younger artists. It means you do not have to figure everything out all at once. Instead, you can focus on one small action at a time, building your confidence as you go. It is, after all, about enjoying the journey of creation, rather than just the final outcome.
By taking things one step at a time, you get to experience the satisfaction of seeing your crown drawing take shape gradually. You will see how starting with simple forms and slowly adding more details can lead to a picture that is, pretty much, exactly what you had in mind, a gleaming king's crown ready to impress.
How Do You Begin Your Crown Drawing Construction?
Starting to put together your crown drawing involves laying down the very first marks on your paper. This initial phase, often called construction, is about building the basic structure of your desired royal headpiece. It is, in a way, like building a house; you need a solid foundation before you can add the walls and roof.
For a crown, this might mean sketching out very simple shapes, like a curve for the base or a few lines to suggest its height. These early marks are not meant to be perfect; they are just guides, a kind of framework for what is to come. It is, you know, about getting the general size and placement right on your page.
You might start with a broad, gentle curve for the main body of the crown, then perhaps add some simple triangles or rounded bumps along the top edge to suggest its points. These are, essentially, the bare bones of your crown drawing, helping you to get the overall form established before you add any of the finer details that will make it truly special.
Thinking about how the crown sits, how balanced it looks, is also part of this stage. You want your regal adornment to appear stable and well-formed. This early construction phase, in fact, helps you to adjust the proportions and make sure everything is lining up nicely, giving your picture a strong base to build upon.
It is, basically, about getting the general idea of the crown down on paper, allowing you to see its shape and how its various parts relate to one another. This step, while simple, is quite important for the success of your entire crown drawing, setting the stage for all the details that will follow.
Making Your Crown Drawing Stand Out with Outlines
Once you have the basic structure of your crown drawing in place, the next step is to make those initial, light lines more defined. This is where outlining comes into play, a process of refining the edges and giving your royal headpiece a crisp, clear form. It is, in fact, about making your picture really pop off the page.
You will go over your earlier, lighter marks, making them stronger and more noticeable. This might involve using a slightly darker pencil or pressing a little harder. The goal is to create distinct boundaries for each part of your crown drawing, giving it a solid and finished appearance. It is, you know, like drawing the final edges of a puzzle piece.
Sometimes, using lines of different thickness can add a bit of visual interest to your crown drawing. For example, the outer edge of the crown might have a slightly thicker line than the inner details. This can help to give your picture a sense of depth and make certain parts stand out more prominently, making it, in a way, more dynamic.
This stage is also a good time to clean up any extra lines from your initial construction. You can gently erase those faint guide marks that you no longer need, leaving behind only the strong, clear outlines of your king's crown. It is, pretty much, about tidying up your work and making it look polished.
A steady hand during this outlining phase is helpful, but do not worry if your lines are not absolutely perfect. The idea is to give your crown drawing a clear form, making it ready for the next exciting part of the process. This step is, after all, about bringing definition to your artistic creation.
Can You Add Sparkle to Your Crown Drawing?
Once the form of your crown drawing is clear, you might start thinking about how to give it that special gleam, that radiant look that makes a royal headpiece truly shine. This is where you can begin to add those smaller elements that suggest brilliance and richness. It is, in fact, about making your picture look like it is catching the light.
Consider the idea of adding little shapes that suggest jewels or precious stones. These could be simple circles, ovals, or even small squares placed along the band or points of your crown drawing. These tiny additions can, in a way, give the impression of sparkling gems, making your monarch's adornment seem even more grand.
You can also think about how light might hit the surfaces of the crown. Even without color, you can suggest shine by leaving certain areas blank or by adding very light lines to show reflections. This subtle approach can, you know, make your crown drawing appear to have a metallic sheen, even if you are just using a pencil.
Adding texture is another way to give your crown drawing a sense of richness. This might mean drawing tiny dots or very fine lines to suggest engraved patterns on the metal, or perhaps a slightly rougher feel to the fabric lining. These small details can, basically, add a lot of visual interest and make your picture feel more complete.
The goal is to give your king's crown drawing a sense of life and vibrancy, making it look like an object that truly belongs to a royal personage. These little touches of sparkle and detail are, in some respects, what transform a simple outline into a truly impressive piece of art, ready to be admired.
Bringing Life to Your Crown Drawing with Color
After you have constructed the form and outlined your crown drawing, the next exciting stage is to bring it to life with shades. This is where your picture really starts to take on its personality, becoming a gleaming king’s crown with depth and vibrancy. It is, frankly, one of the most enjoyable parts of the entire picture-making process.
The source text mentions using markers, which are a wonderful choice for adding bright, clear tints to your crown drawing. Markers allow you to lay down smooth, even areas of shade, making your regal headpiece look bold and striking. They are, in a way, a very direct tool for applying color, giving you immediate results.
When you are adding hues, you can think about the different parts of the crown. Perhaps the main body of the monarch's circlet will be a golden shade, while the jewels might be vibrant reds, blues, or greens. Using different shades helps to separate the various elements of your crown drawing and makes it look more interesting, you know.
You can also experiment with layering colors, especially with markers. By applying one shade lightly and then adding another on top, or even a darker version of the same shade, you can create a sense of shadow and depth. This technique can, basically, make your crown drawing appear more three-dimensional, as if it is truly sitting there on the page.
Remember that the goal is to have fun with this part. There is no single "right" way to add color to your crown drawing. It is about exploring what looks good to you and what makes your royal headpiece feel special. This step is, after all, about expressing your creativity and making your picture truly your own.
Is Crown Drawing Fun for Everyone?
A key idea from the source text is that learning to make a picture of a crown is easy and enjoyable, not just for experienced artists, but also for kids and those who are just beginning their artistic journey. This truly means that anyone, regardless of their past experience, can pick up a pencil and start creating a great-looking crown drawing. It is, you know, a very welcoming activity.
The simplicity of the steps involved makes this project accessible to a wide range of people. You do not need to have special skills or a long history of making pictures to achieve a pleasing result. The process is designed to be straightforward, allowing even the newest artists to feel successful as they create their regal adornment. It is, in some respects, a very encouraging way to learn.
The joy of creating something, of seeing a blank page slowly transform into a shining king’s crown, is a feeling that everyone can appreciate. It is about the satisfaction of making something with your own hands, something that you can look at and feel proud of. This feeling of accomplishment is, frankly, a big part of why this kind of crown drawing is so much fun for all.
So, if you have ever thought
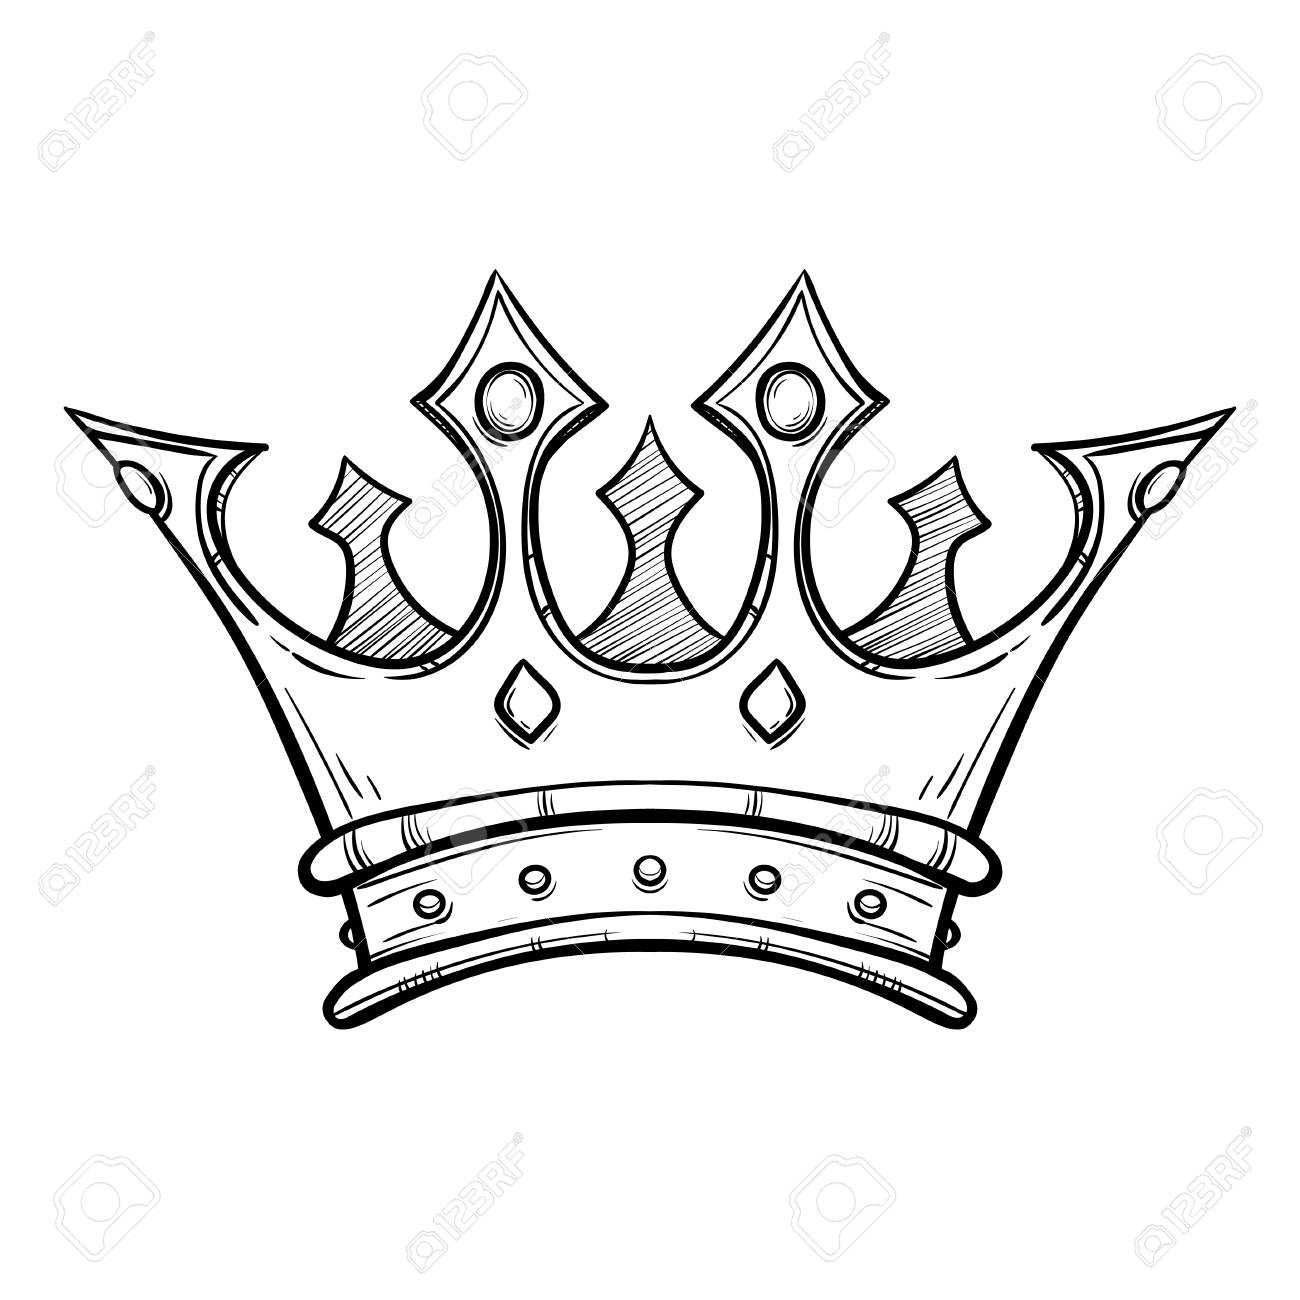
Crown Line Drawing at GetDrawings | Free download
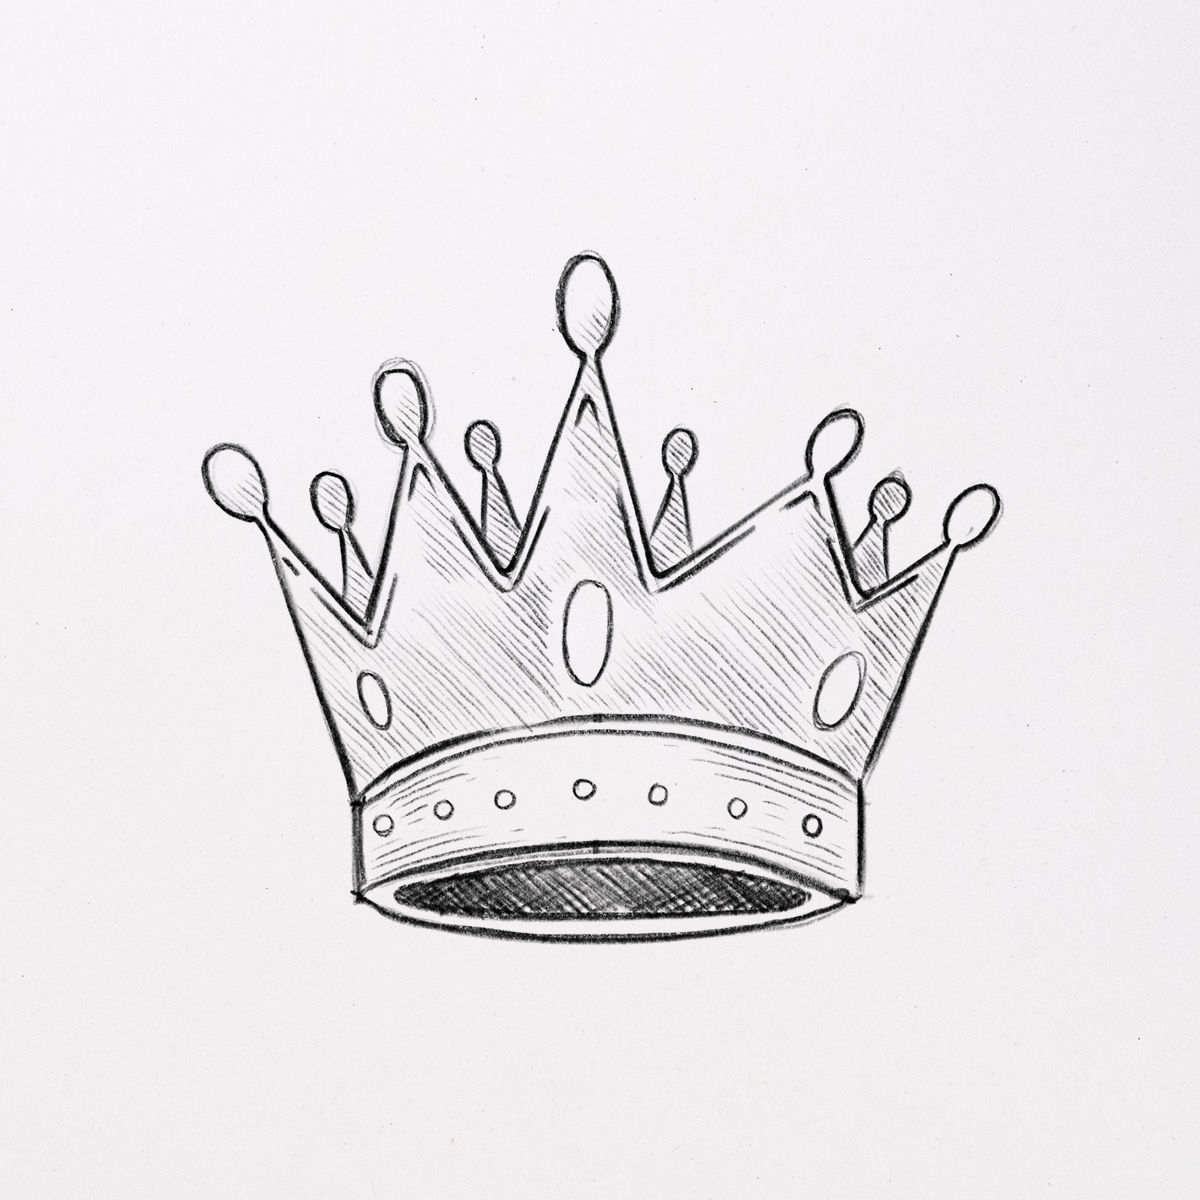
How to Draw a Crown (easy step by step) 👑
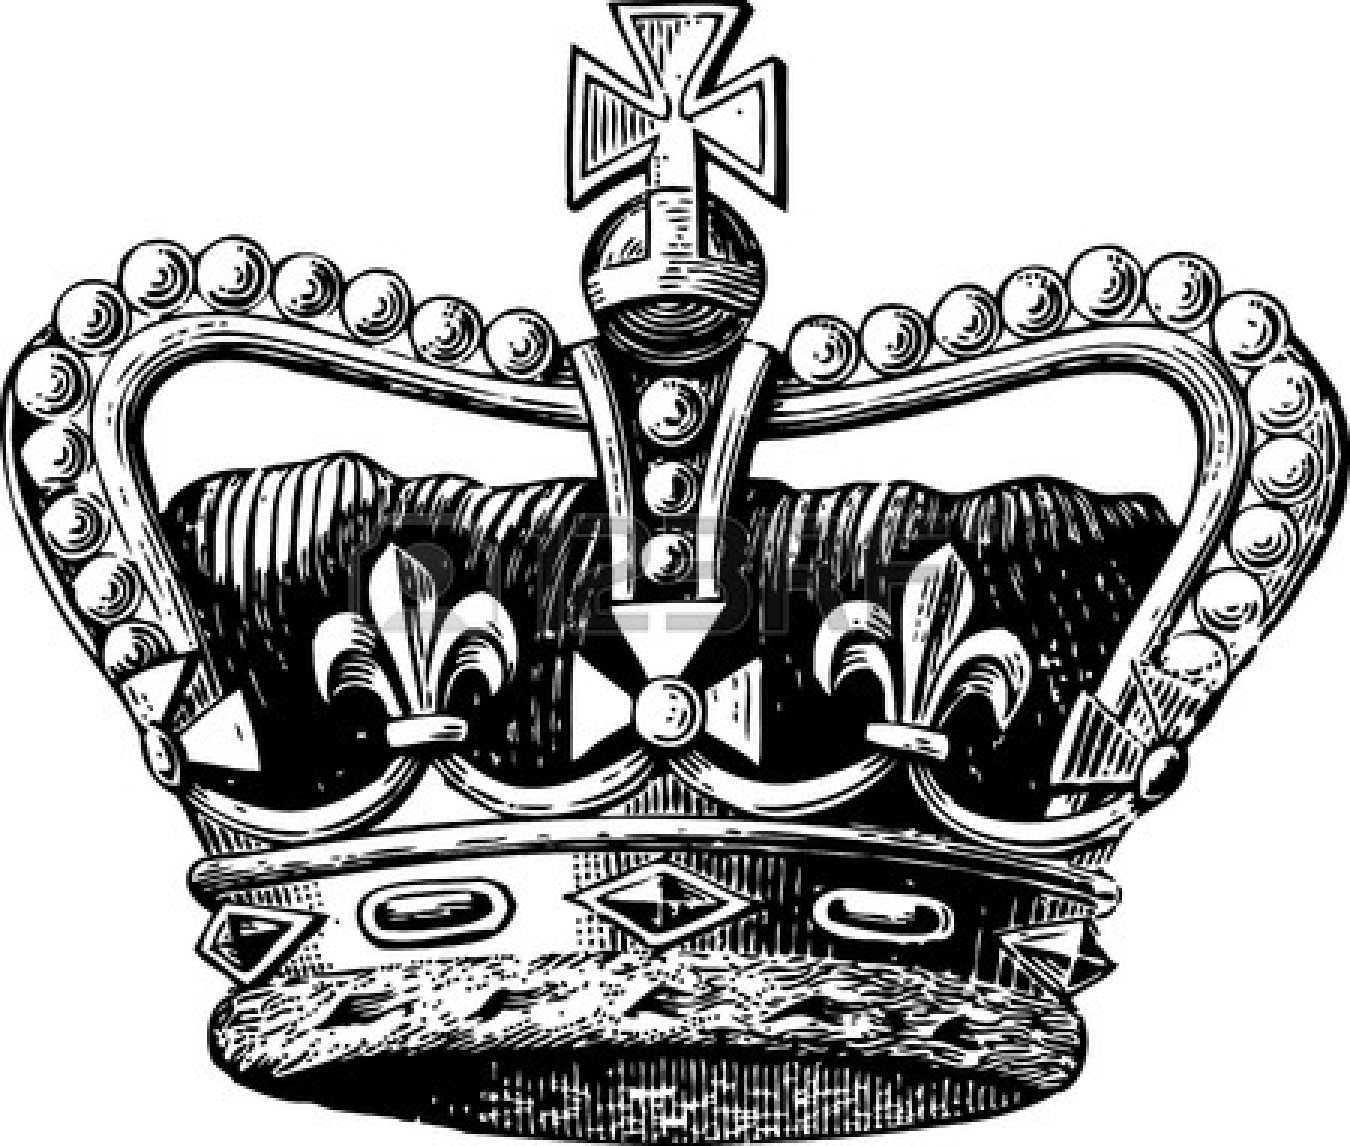
Royal Crown Drawing at PaintingValley.com | Explore collection of Royal
